In Visual Studio Code, a profile is a set of settings that help you customize your environment for your projects. Profiles are a great way to customize VS Code to better fit your need. You can save a set of configurations such as settings, extensions, font size, color theme etc., sync them across your devices, and even easily share them with colleagues. You can create multiple profiles for different scenarios.
For example, a python project might require specific extensions to run python script smoothly, while a Golang project will require different extensions and settings.
In another use case, you can create a profile with a specific set of extensions and settings like font size, and color theme for a demo project. By doing this, the demo will not mess up your normal VS Code setup, and you can customize VS Code for better visibility during your demo.
To create a new profile, navigate to the top left of your screen, Click File > Preferences > Profiles > Create Profile.

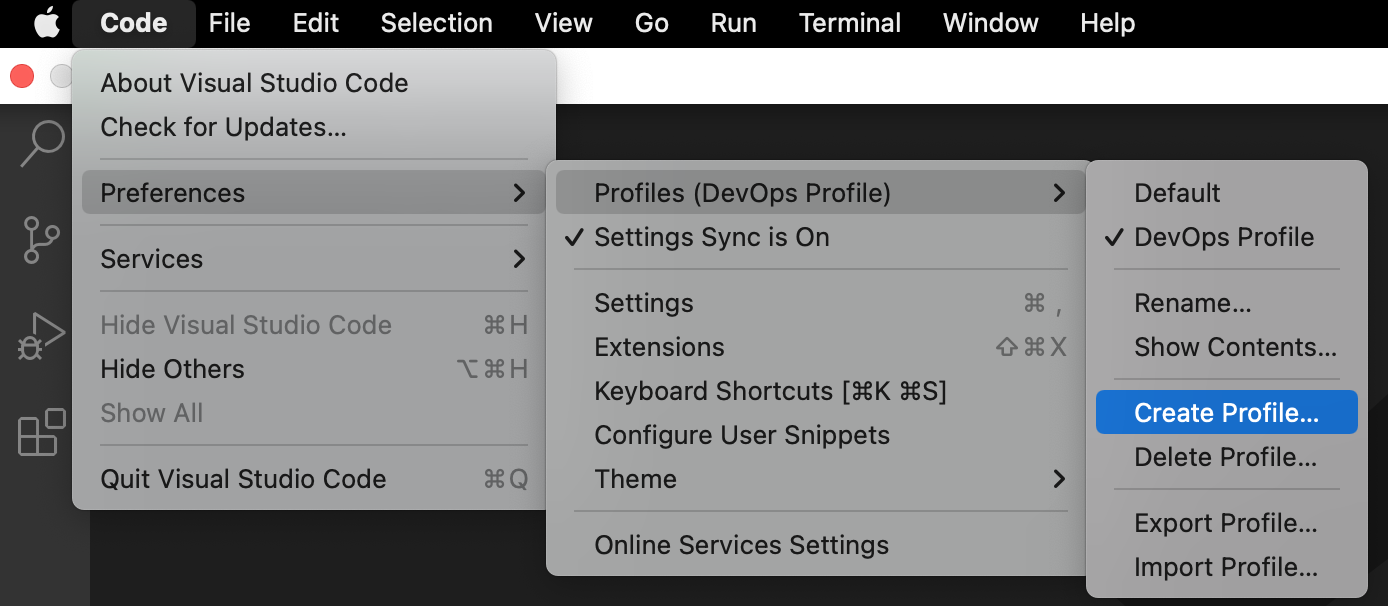
Navigate to Code > Preferences > Profiles > Create Profile.
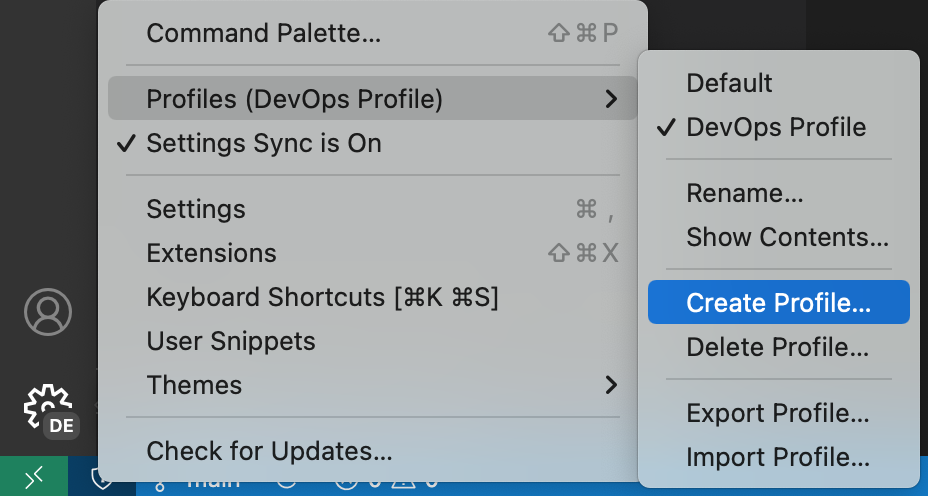
Alternatively, you can click on settings (gear ⚙️ Icon) at the bottom left of your screen > Profiles > Create Profile. This works for both macOS and windows.
In the image above, I have created a DevOps VS Code profile to meet my DevOps needs.
When creating a profile, you can choose either “Create an Empty Profile” or “Create from current profile”.

Selecting “Create from Empty Profile” above will create a new profile without any customizations as though you just downloaded VS Code, while creating from current profile will carry over all existing changes or settings, if any exists.
You can easily switch, rename, create, delete, export or import profiles in VS Code by following the prompts on your screen.